Xcode 9 beta & iOS11 beta & Swift4

Core ML是一个能集成机器学习模型到app中的框架。

一、新建初始项目

  1. 新建项目CoreMLDemo,以single-view application template模板
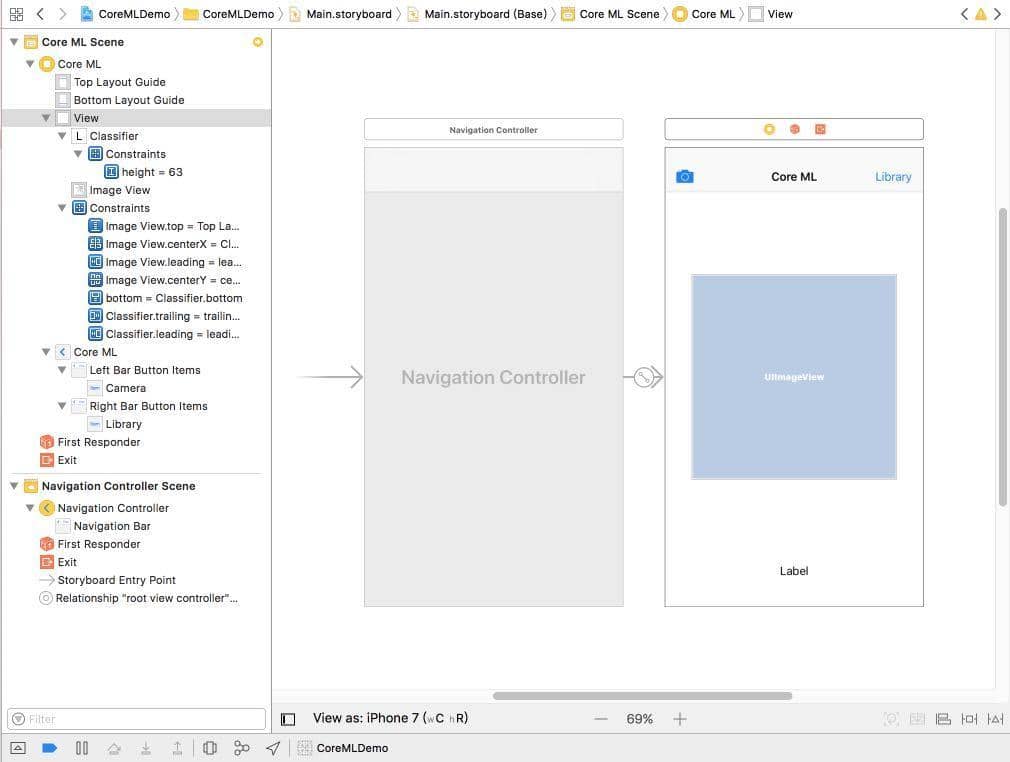
  2. 建立如下如下UI

二、实现照相和获取图片库功能

  1. 遵守两个协议: class ViewController: UIViewController, UINavigationControllerDelegate, UIImagePickerControllerDelegate {

  2. 添加两个接口,并关联。

1
2
  @IBOutlet var imageView: UIImageView!
  @IBOutlet var classifier: UILabel!
  1. 实现两个Action
 1
 2
 3
 4
 5
 6
 7
 8
 9
10
11
12
13
14
15
16
17
18
19
20
  @IBAction func camera(_ sender: Any) {
      if !UIImagePickerController.isSourceTypeAvailable(.camera) {
          return
      }
      
      let cameraPicker = UIImagePickerController()
      cameraPicker.delegate = self
      cameraPicker.sourceType = .camera
      cameraPicker.allowsEditing = false
      
      present(cameraPicker, animated: true, completion: nil)
  }
  
  @IBAction func openLibrary(_ sender: Any) {
      let picker = UIImagePickerController()
      picker.allowsEditing = false
      picker.delegate = self
      picker.sourceType = .photoLibrary
      present(picker, animated: true)
  }
  1. 实现协议UIImagePickerControllerDelegate中的方法:
1
2
3
    func  imagePickerControllerDidCancel(_ picker: UIImagePickerController) {
        dismiss(animated: true, completion: nil)
    }
  1. Info.plist中添加📷使用请求,Privacy – Camera Usage Description and Privacy

三、集成Core ML Data Model

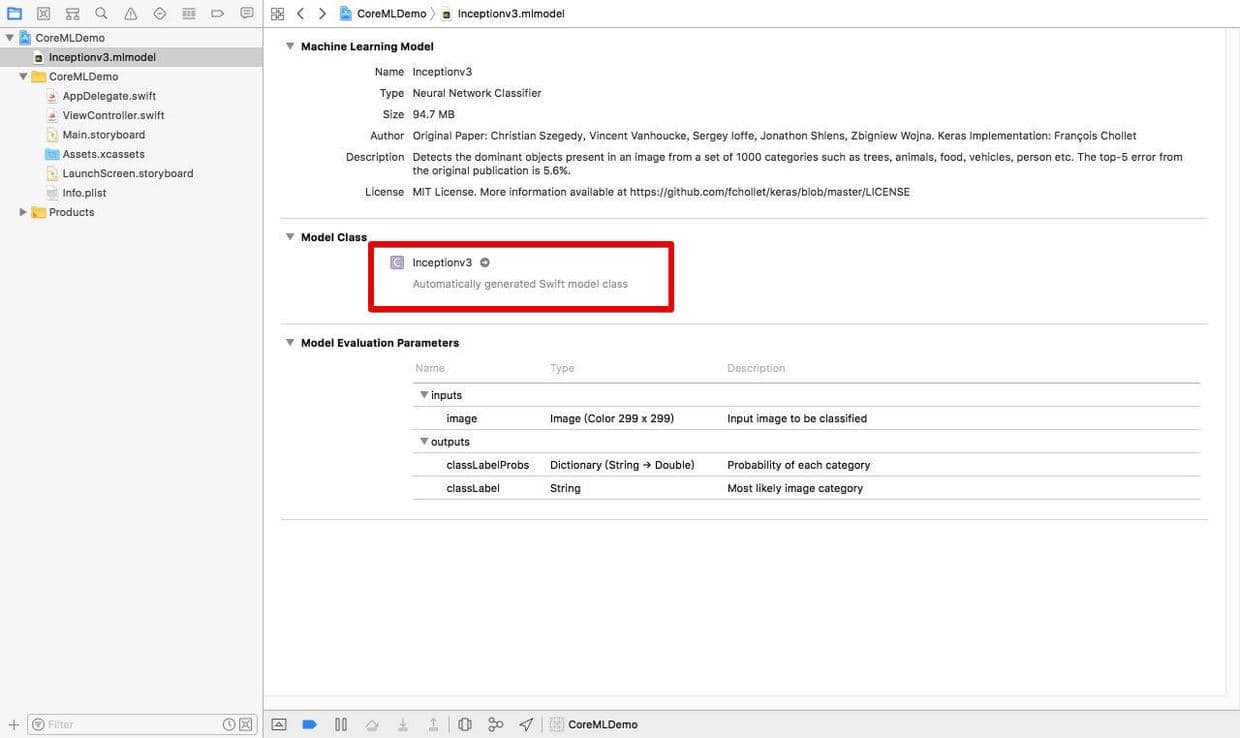
  1. 到Apple机器学习官网 Machine Learning下载Core ML models,目前有6个Model,识别图片的使用Inception v3。下载得到一个mlmodel结尾的文件,直接拖到项目中,会自动生成对应model名的swift的类文件,可以直接在代码中使用。
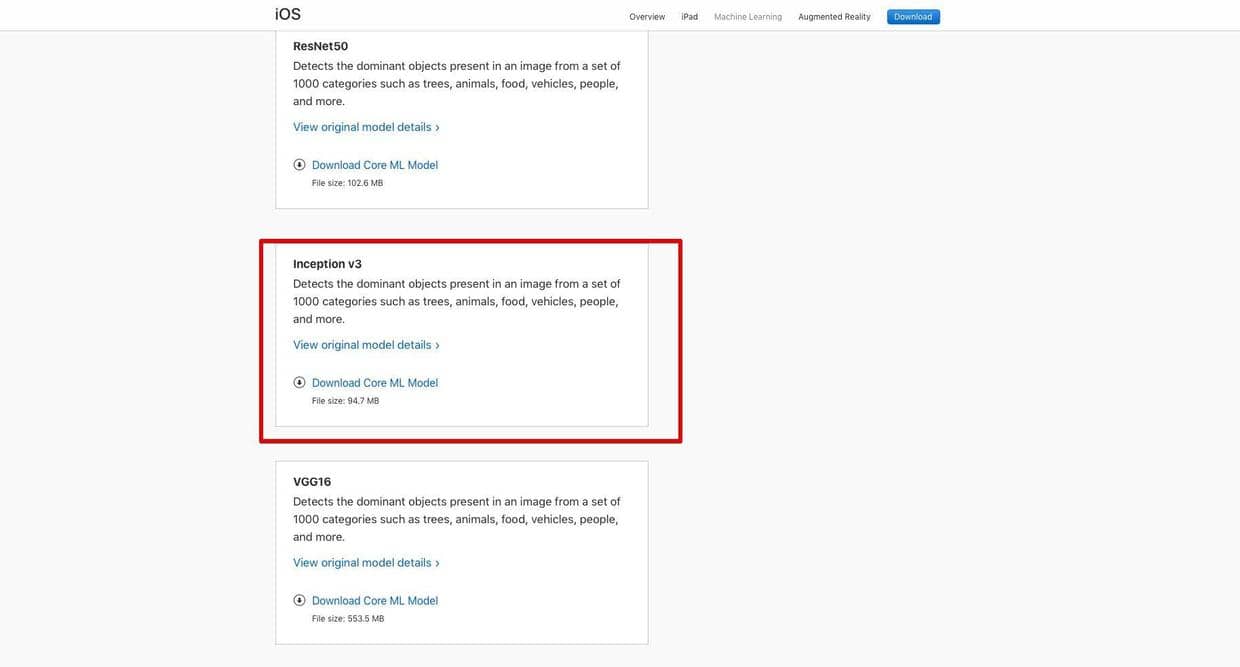
 4.jpg

  2. ViewController.swift中引入Core ML: import CoreML

  3. 初始Inceptionv3:

1
2
3
4
5
    var model: Inceptionv3!
    
    override func viewWillAppear(_ animated: Bool) {
        model = Inceptionv3()
    }
  1. 实现UIImagePickerControllerDelegate 协议的imagePickerController(_:didFinishPickingMediaWithInfo)方法:
 1
 2
 3
 4
 5
 6
 7
 8
 9
10
11
12
13
14
15
16
17
18
19
20
21
22
23
24
25
26
27
28
29
30
31
32
33
34
    func imagePickerController(_ picker: UIImagePickerController, didFinishPickingMediaWithInfo info: [String : Any]) {
        
        picker.dismiss(animated: true)
        classifier.text = "Analyzing Image..."
        guard let image = info["UIImagePickerControllerOriginalImage"] as? UIImage else {
            return
        }
        
        UIGraphicsBeginImageContextWithOptions(CGSize(width: 299, height: 299), true, 2.0)
        image.draw(in: CGRect(x: 0, y: 0, width: 299, height: 299))
        let newImage = UIGraphicsGetImageFromCurrentImageContext()!
        UIGraphicsEndImageContext()
        
        let attrs = [kCVPixelBufferCGImageCompatibilityKey: kCFBooleanTrue, kCVPixelBufferCGBitmapContextCompatibilityKey: kCFBooleanTrue] as CFDictionary
        var pixelBuffer : CVPixelBuffer?
        let status = CVPixelBufferCreate(kCFAllocatorDefault, Int(newImage.size.width), Int(newImage.size.height), kCVPixelFormatType_32ARGB, attrs, &pixelBuffer)
        guard (status == kCVReturnSuccess) else {
            return
        }
        
        CVPixelBufferLockBaseAddress(pixelBuffer!, CVPixelBufferLockFlags(rawValue: 0))
        let pixelData = CVPixelBufferGetBaseAddress(pixelBuffer!)
        
        let rgbColorSpace = CGColorSpaceCreateDeviceRGB()
        let context = CGContext(data: pixelData, width: Int(newImage.size.width), height: Int(newImage.size.height), bitsPerComponent: 8, bytesPerRow: CVPixelBufferGetBytesPerRow(pixelBuffer!), space: rgbColorSpace, bitmapInfo: CGImageAlphaInfo.noneSkipFirst.rawValue) //3
        
        context?.translateBy(x: 0, y: newImage.size.height)
        context?.scaleBy(x: 1.0, y: -1.0)
        
        UIGraphicsPushContext(context!)
        newImage.draw(in: CGRect(x: 0, y: 0, width: newImage.size.width, height: newImage.size.height))
        UIGraphicsPopContext()
        CVPixelBufferUnlockBaseAddress(pixelBuffer!, CVPixelBufferLockFlags(rawValue: 0))
        imageView.image = newImage
  1. 使用Core ML 在上面imagePickerController(_:didFinishPickingMediaWithInfo)方法最后添加:
1
2
3
4
        guard let prediction = try? model.prediction(image: pixelBuffer!) else {
            return
        }
        classifier.text = "I think this is a \(prediction.classLabel)."

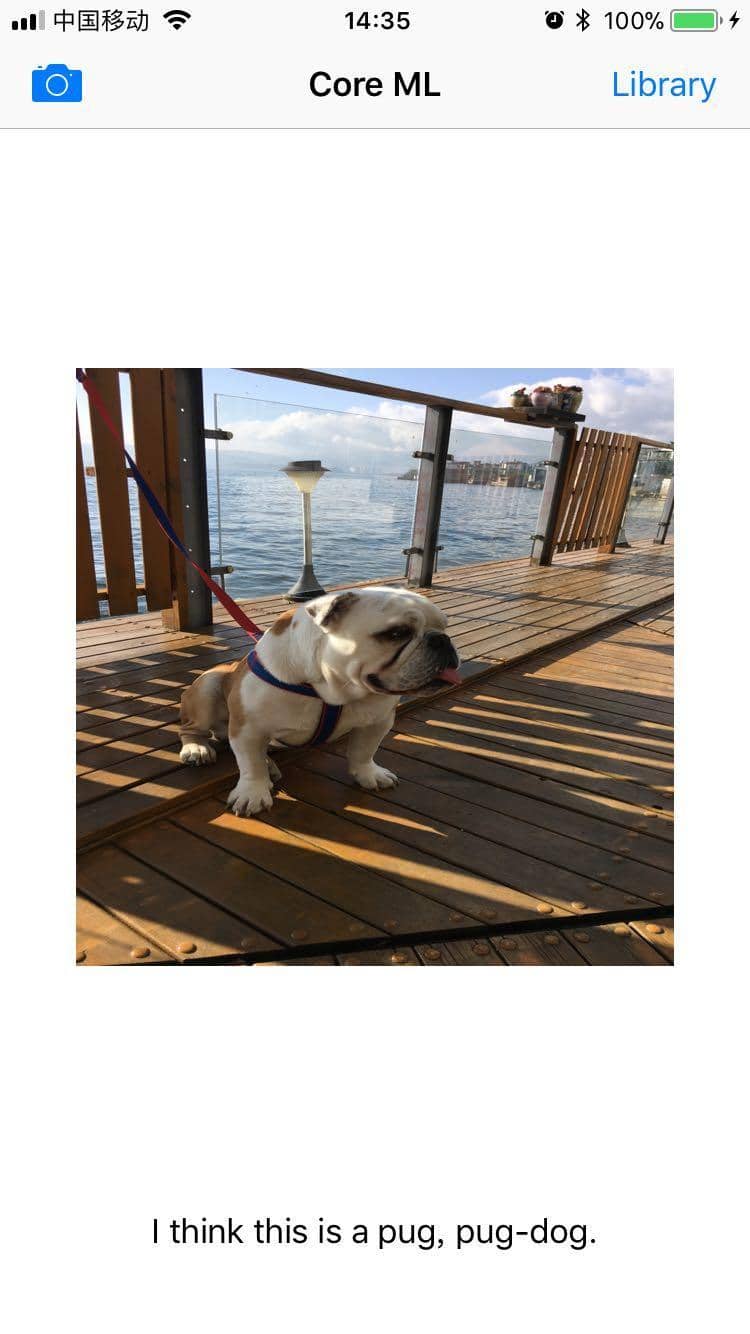
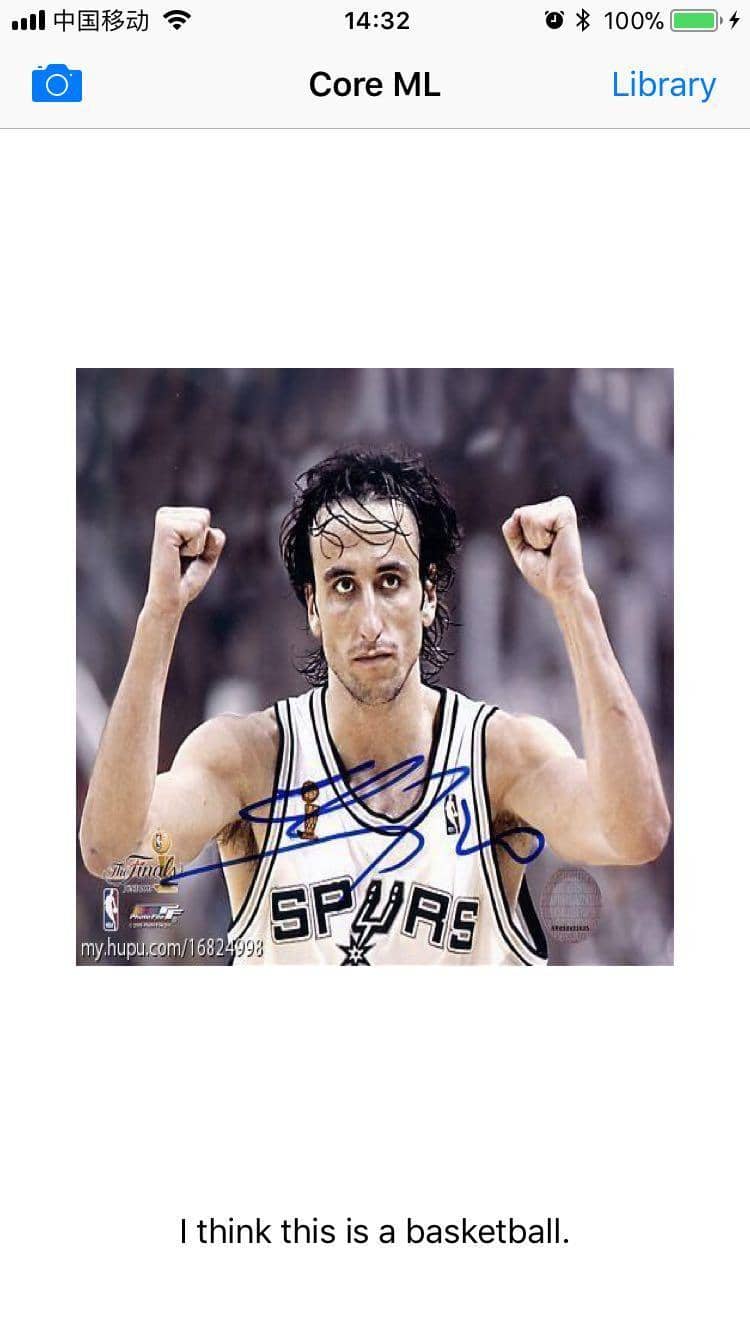
现在就可运行识别图片内容了,我已几个简单的做了实验,效果还可以:

能识别🐶的种类,哈巴狗pug

🍌应该相对而言简单:

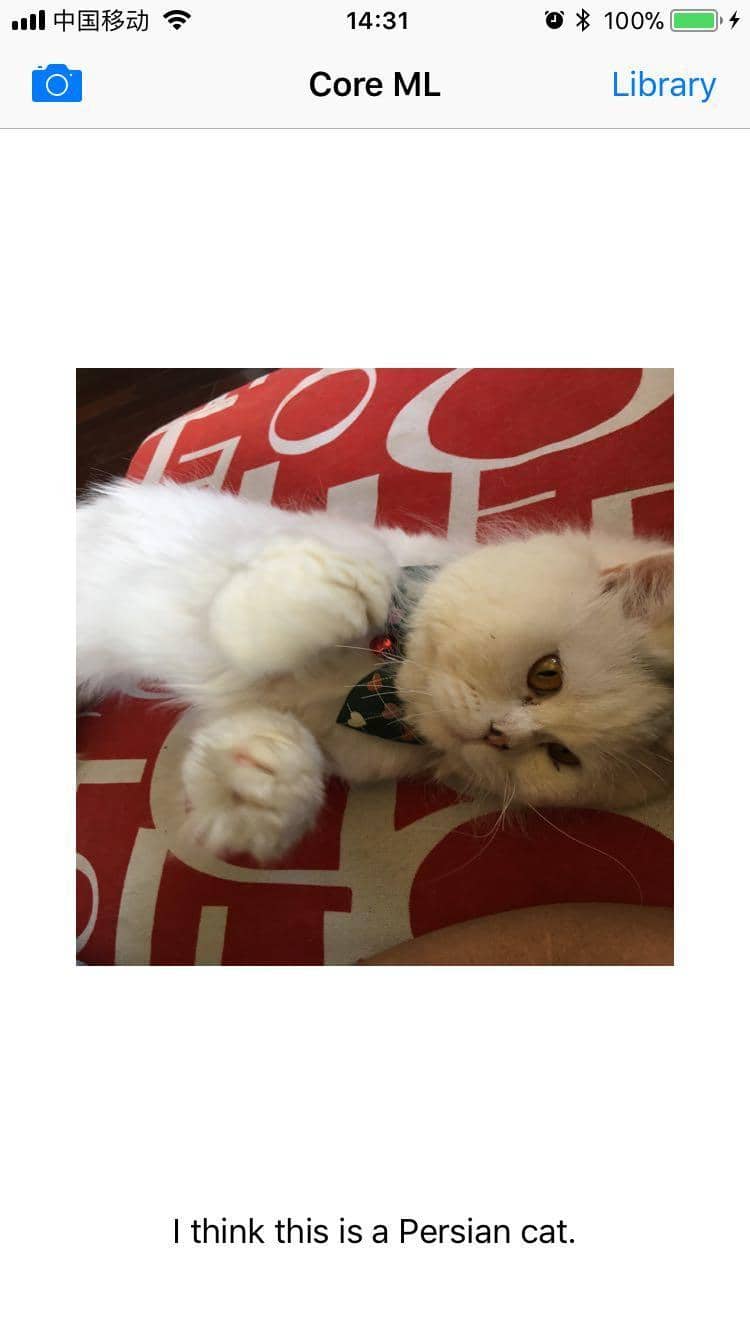
朋友家的猫,我也不知道猫的种类,识别为波斯猫(Persian cat):

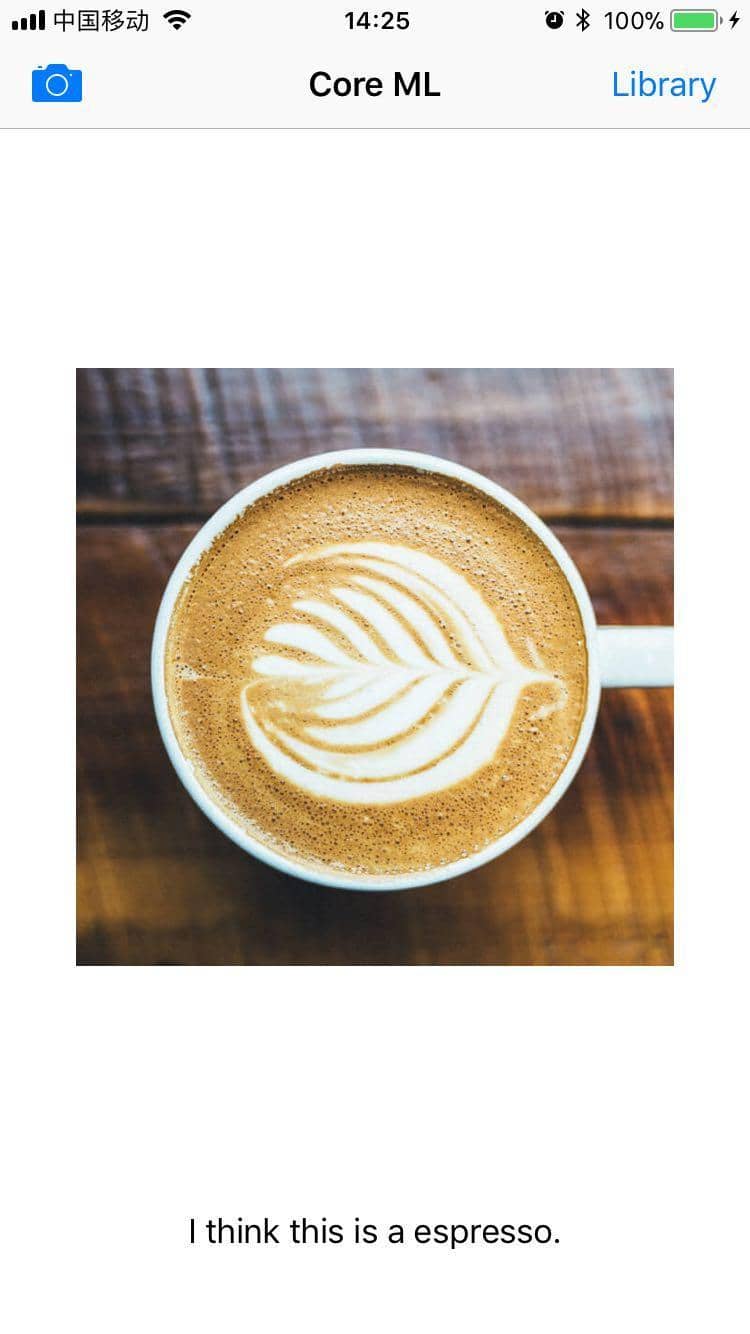
这个我就不知道是怎么识别为浓咖啡(espresso)的了🤔
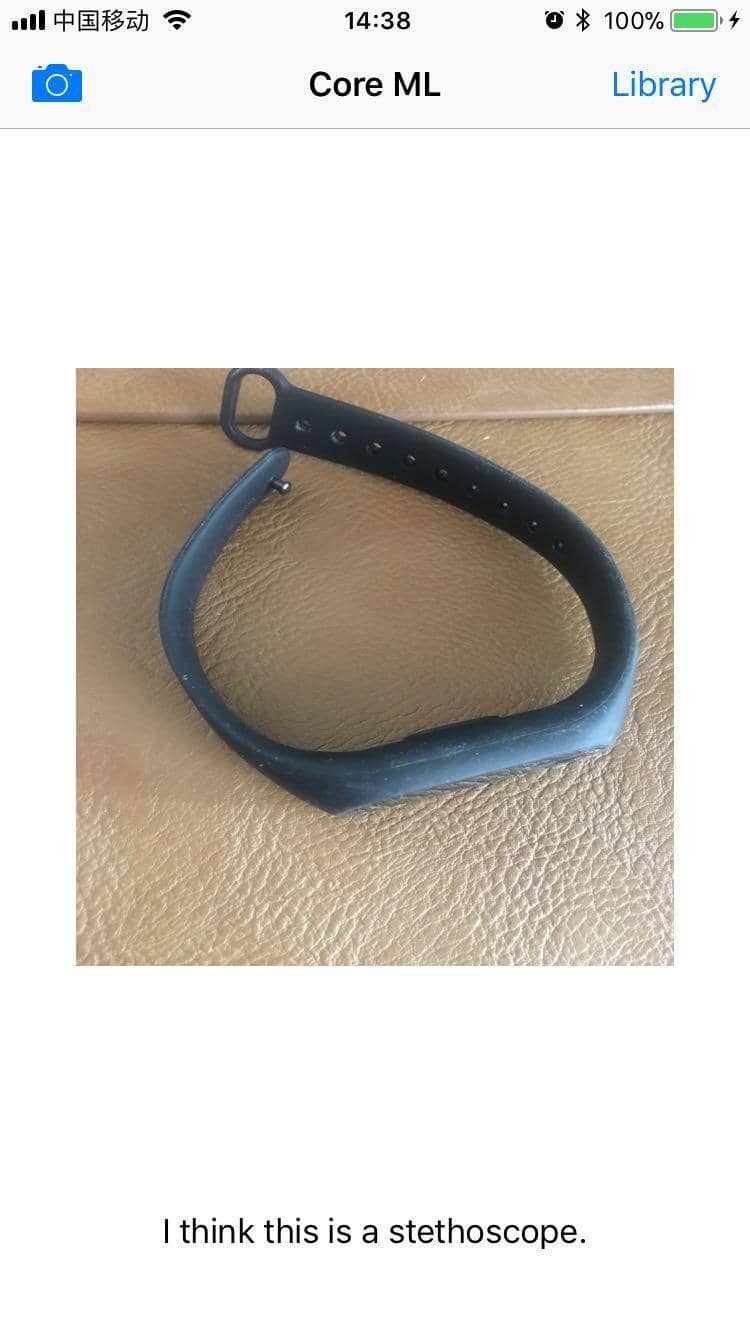
 yes1.jpg

当然识别相差比较奇怪的。 小米手环识别成听诊器(stethoscope)😢
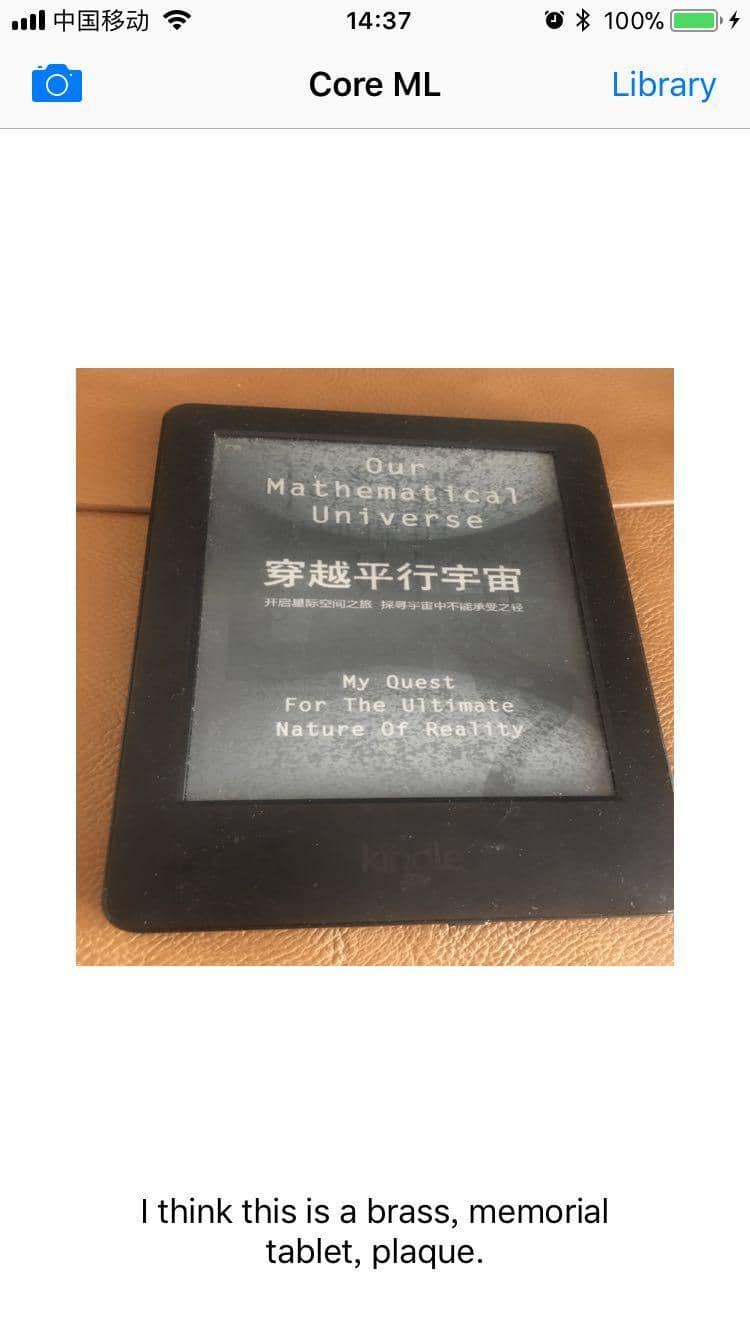
kindle识别不出😢😢😢

四、Core ML学习资源

官方文档  official Core ML documentation

WWDC 2017:

代码 CoreMLDemo (由于Inceptionv3.mlmodel比较大,我就没有上传到github上,直接到 Machine Learning然后拖到项目中即可)

参考:Introduction to Core ML: Building a Simple Image Recognition App