开始用Swift开发iOS 10 - 25 使用3D Touch
接着上一篇 开始用Swift开发iOS 10 - 24 使用TestFlight进行Beta测试 ,这一篇学习使用3D Touch。
自从iPhone 6s和iPhone 6s Plus开始,Apple介绍了一种新的交互方式就是3D Touch。这新的特性需要硬件的支持,是iPhone屏幕不仅能感应到触摸,还能感应到压力。
现在3D Touch主要有三类交互方式:
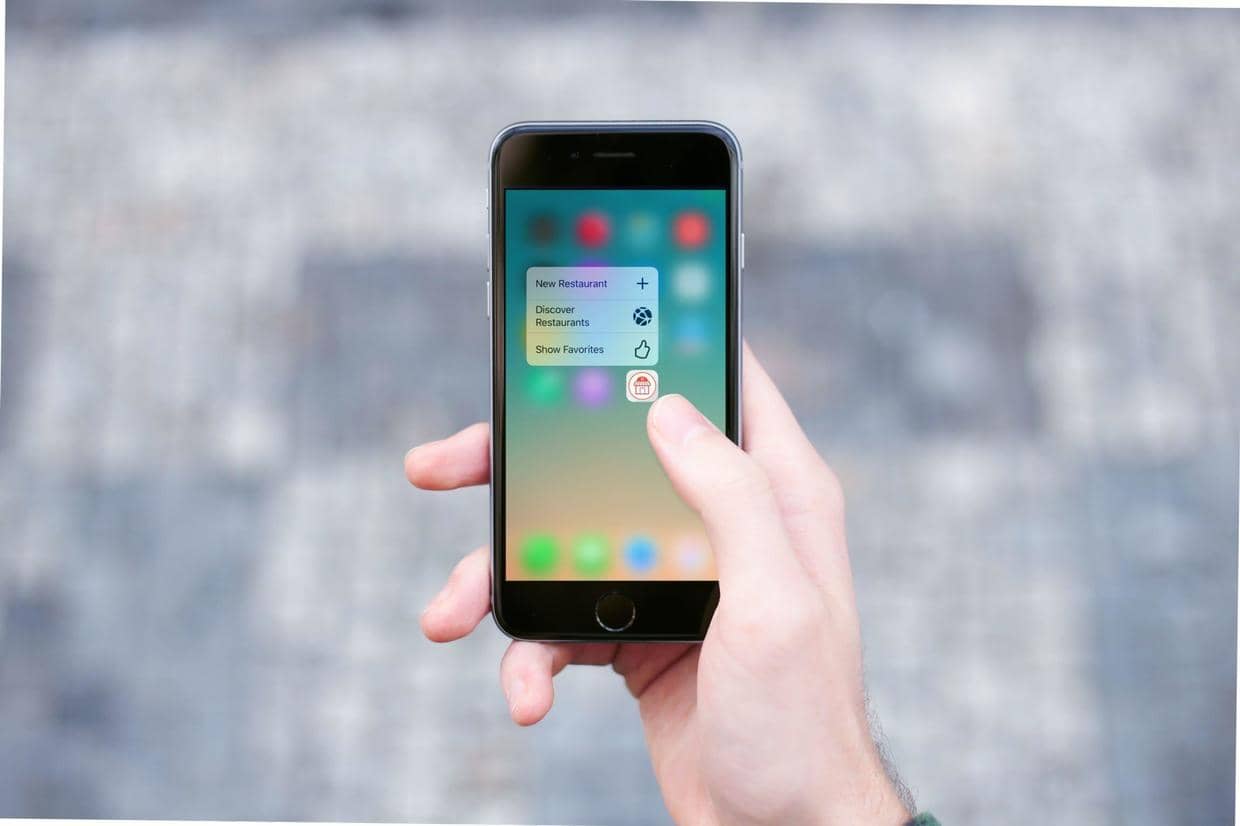
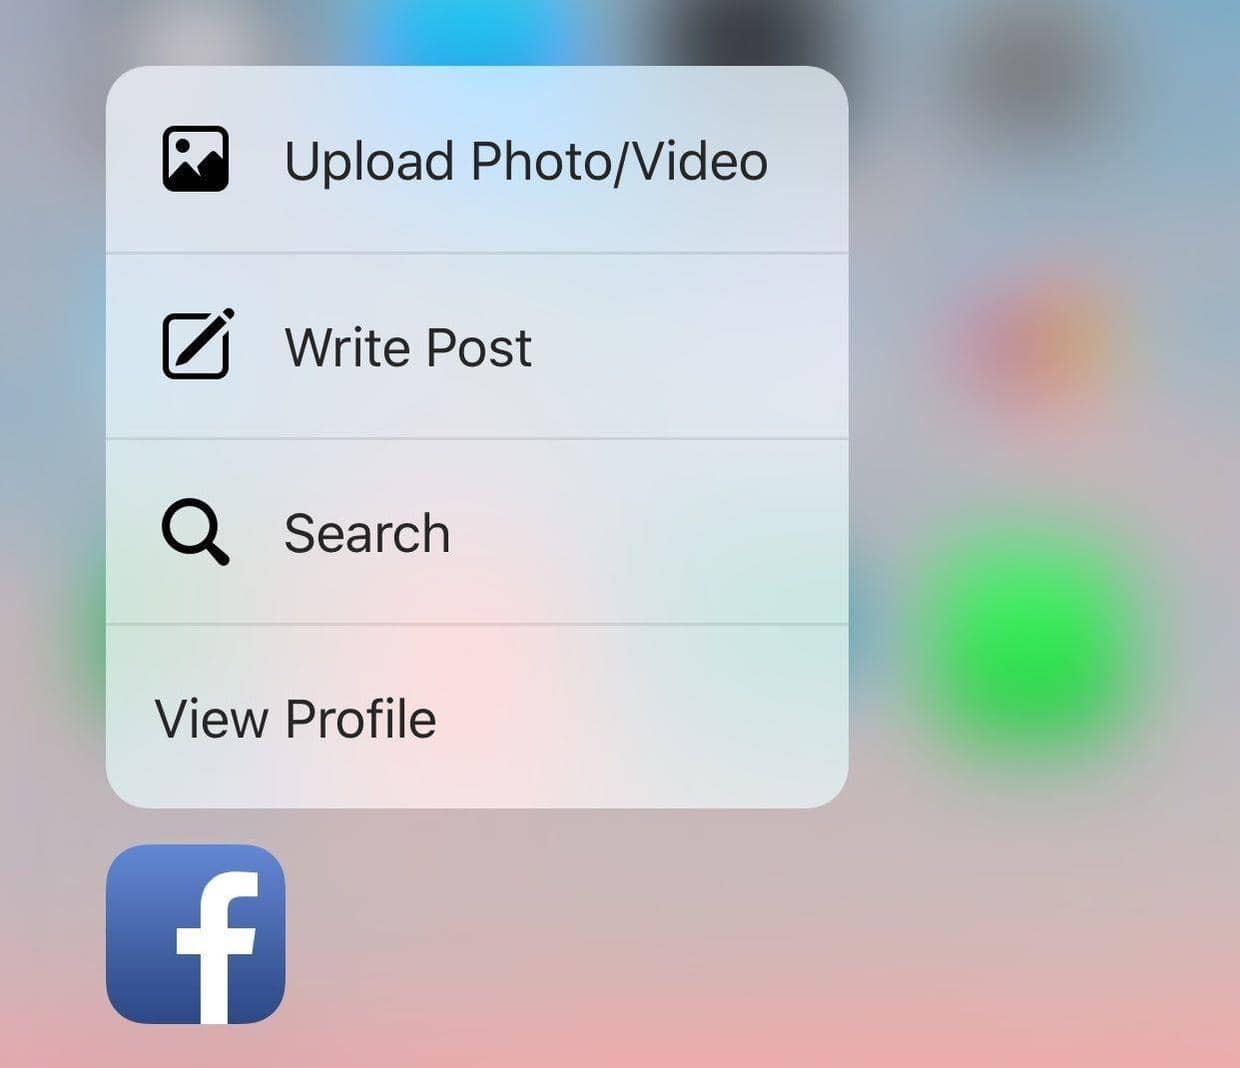
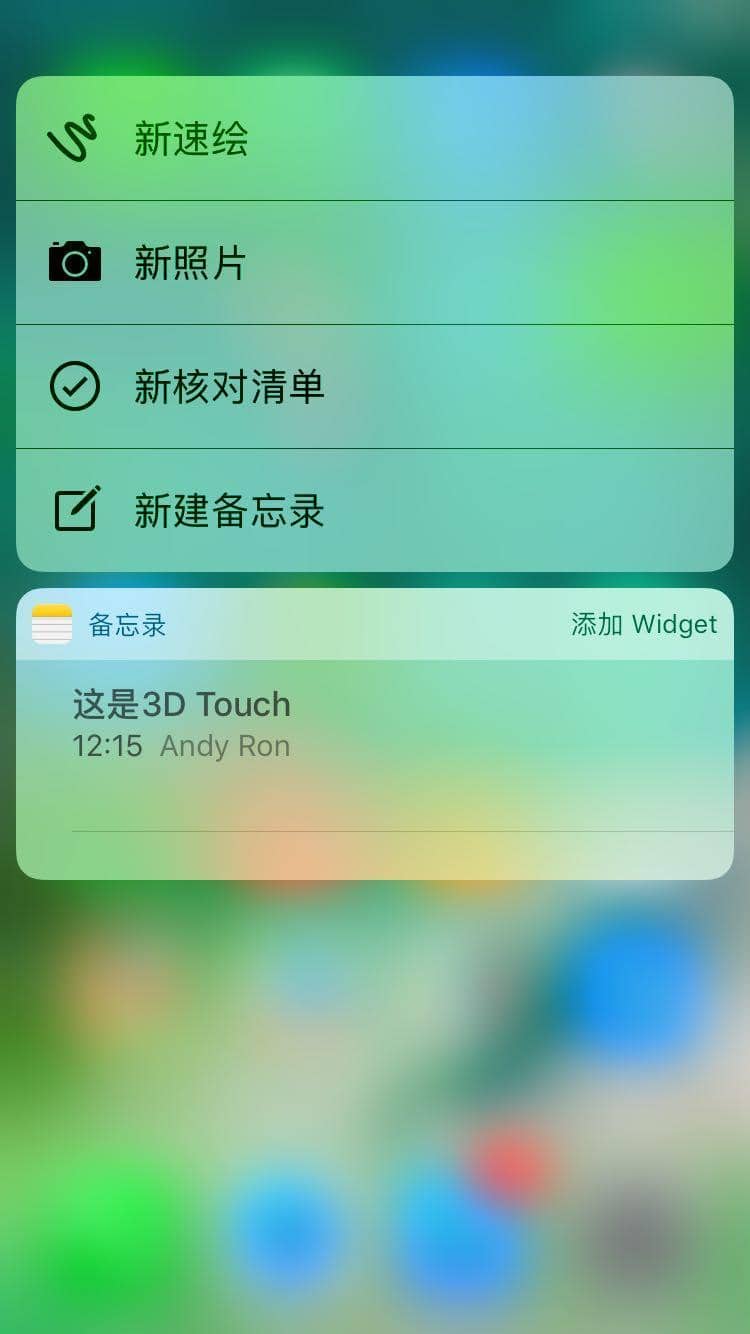
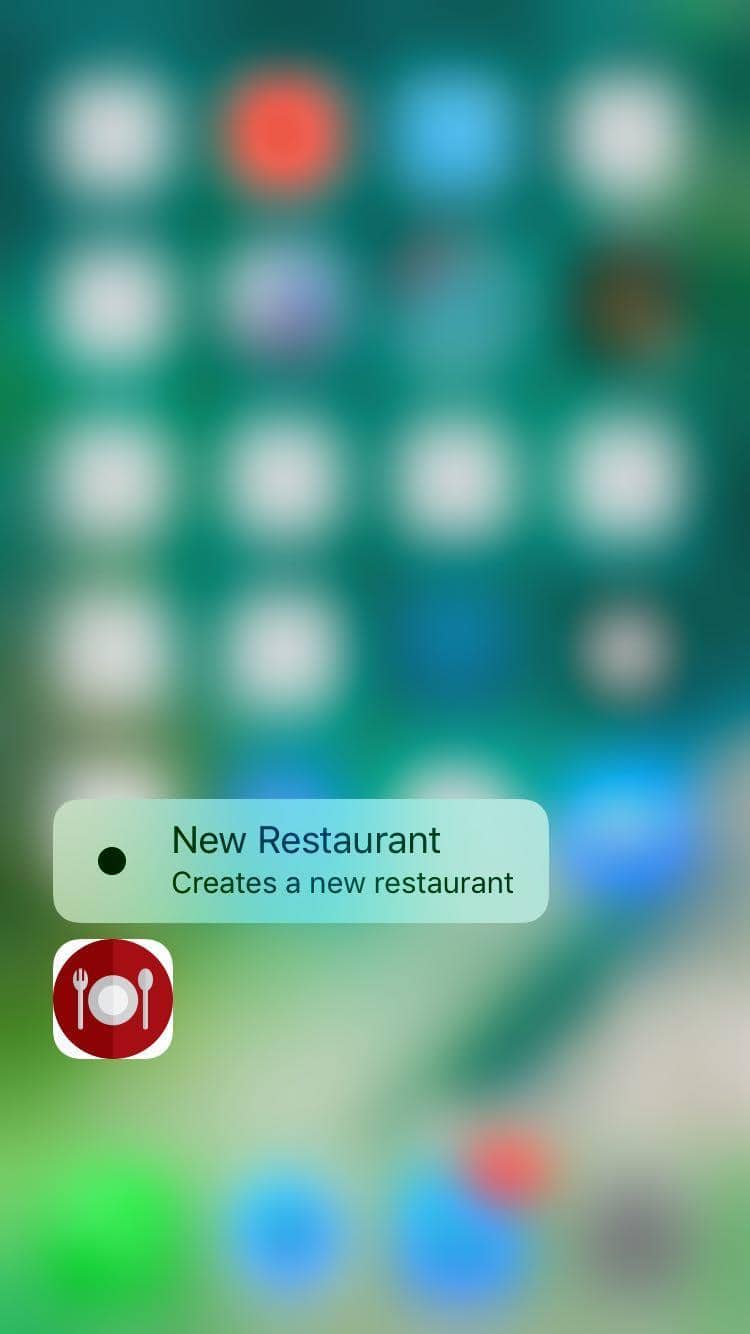
- Quick Action :点击应用图标后的快捷操作。👇是例子:
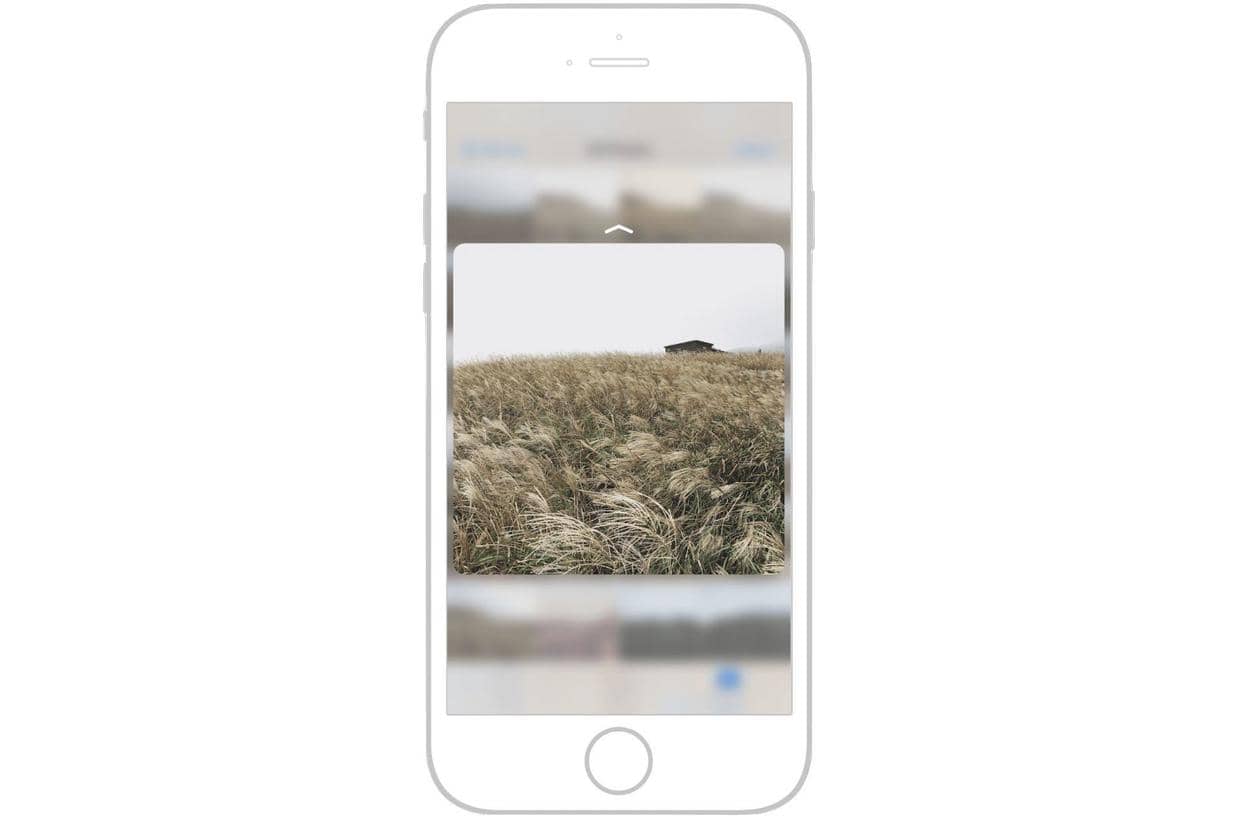
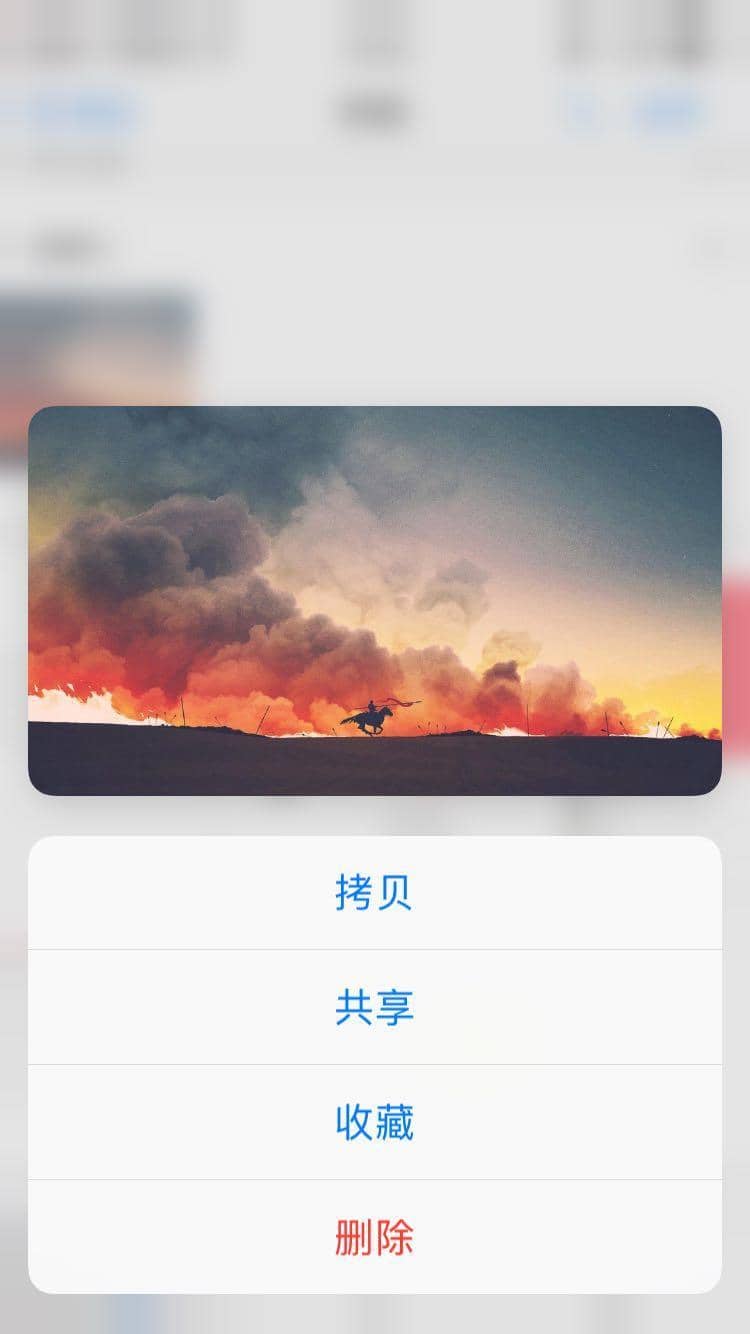
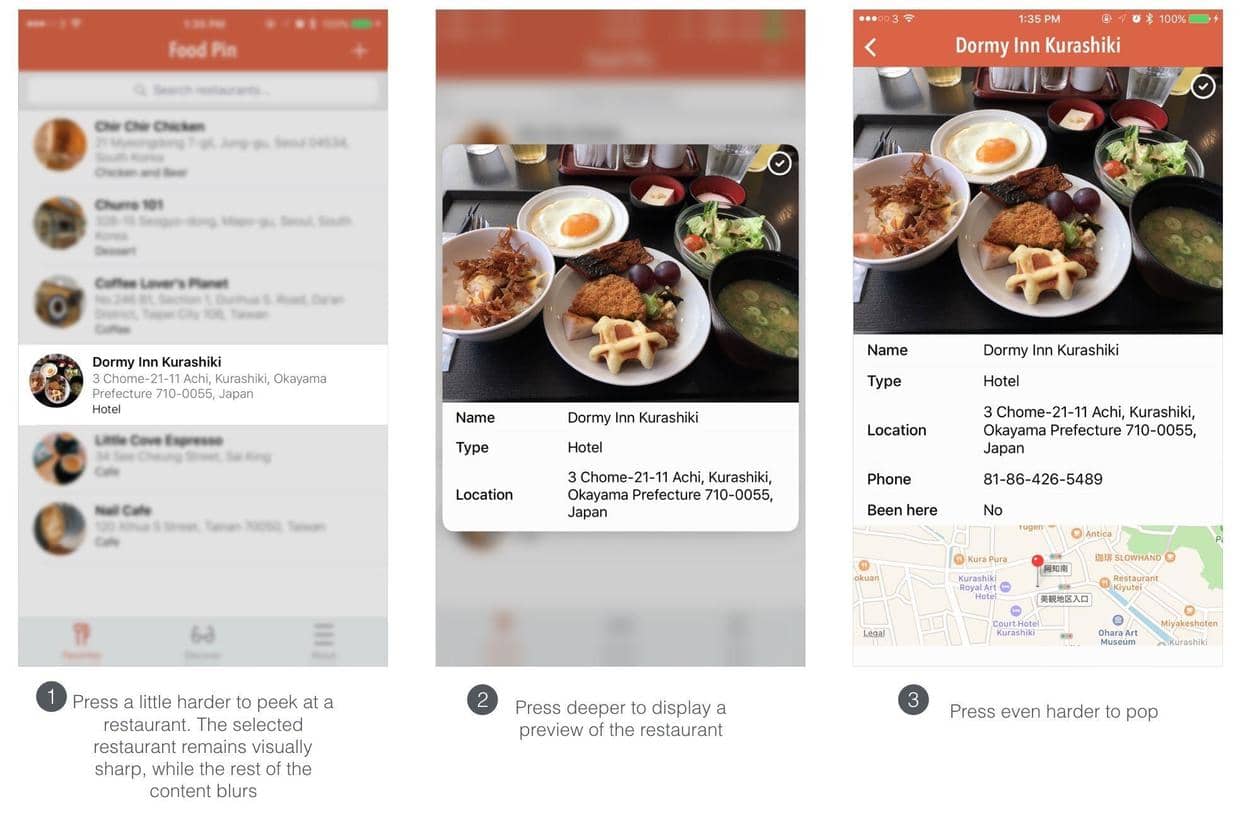
- Peek(preview) 和 Pop(commit)一般是一起的 :主要应用于app中快速查看详细内容。 自带的Photos app是很好的例子:
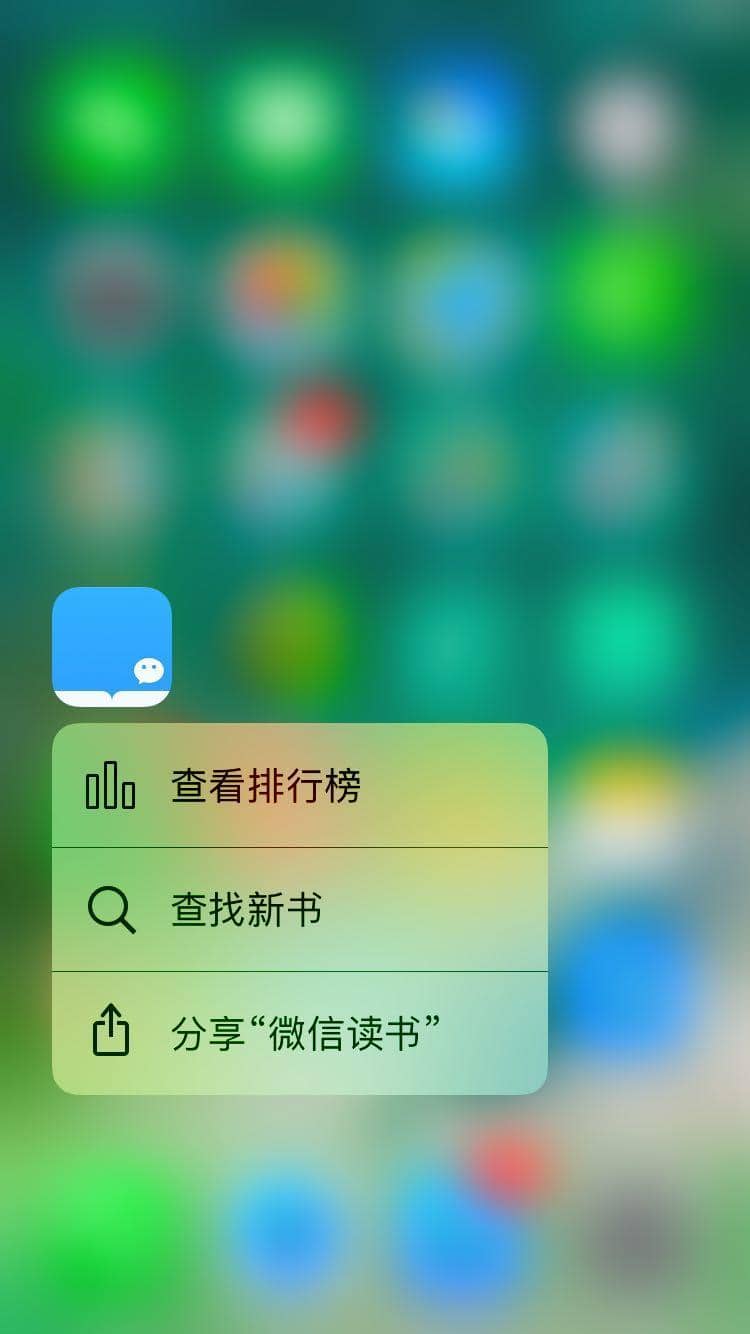
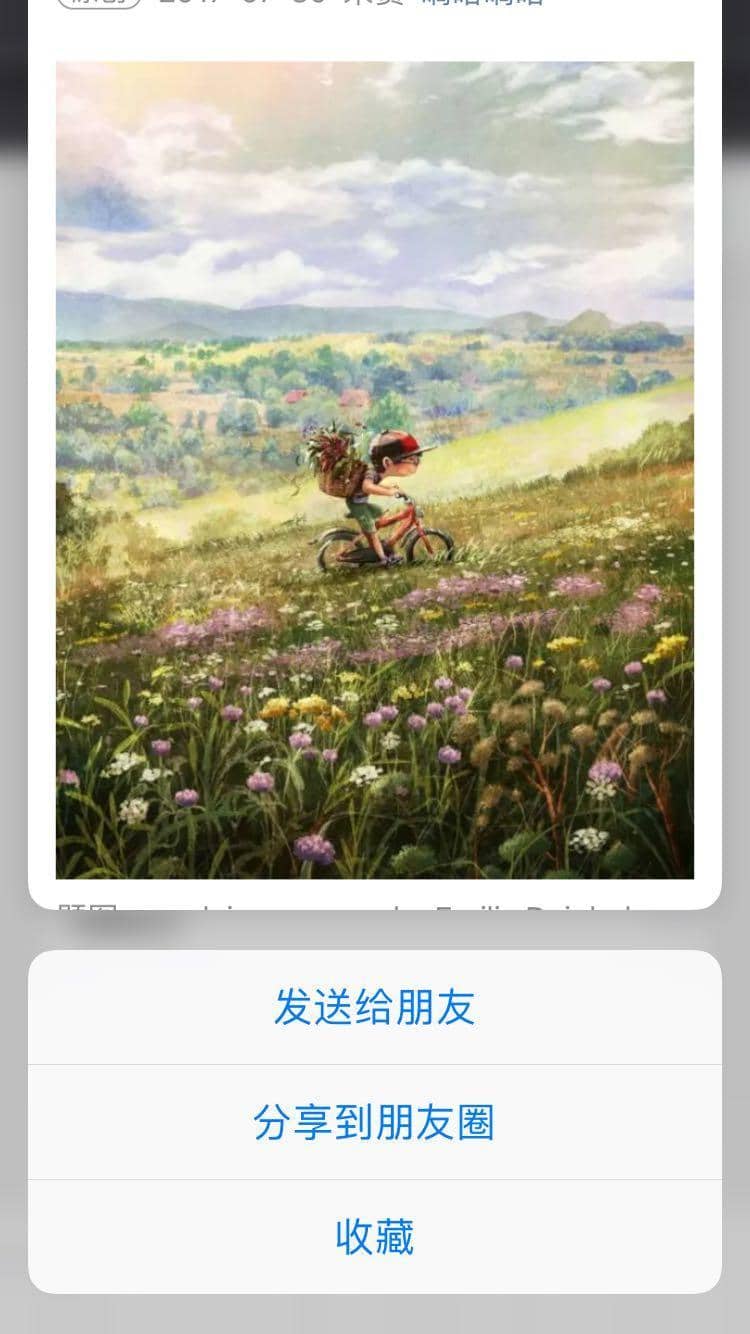
微信公众号也是不错的例子:
Home Screen Quick Action
- Quick Action分两种:
- 静态的:在
Info.plist中编写,固定不变的。 - 动态的:在代码中创建和更新。以自带的News app为例:
- 静态的:在
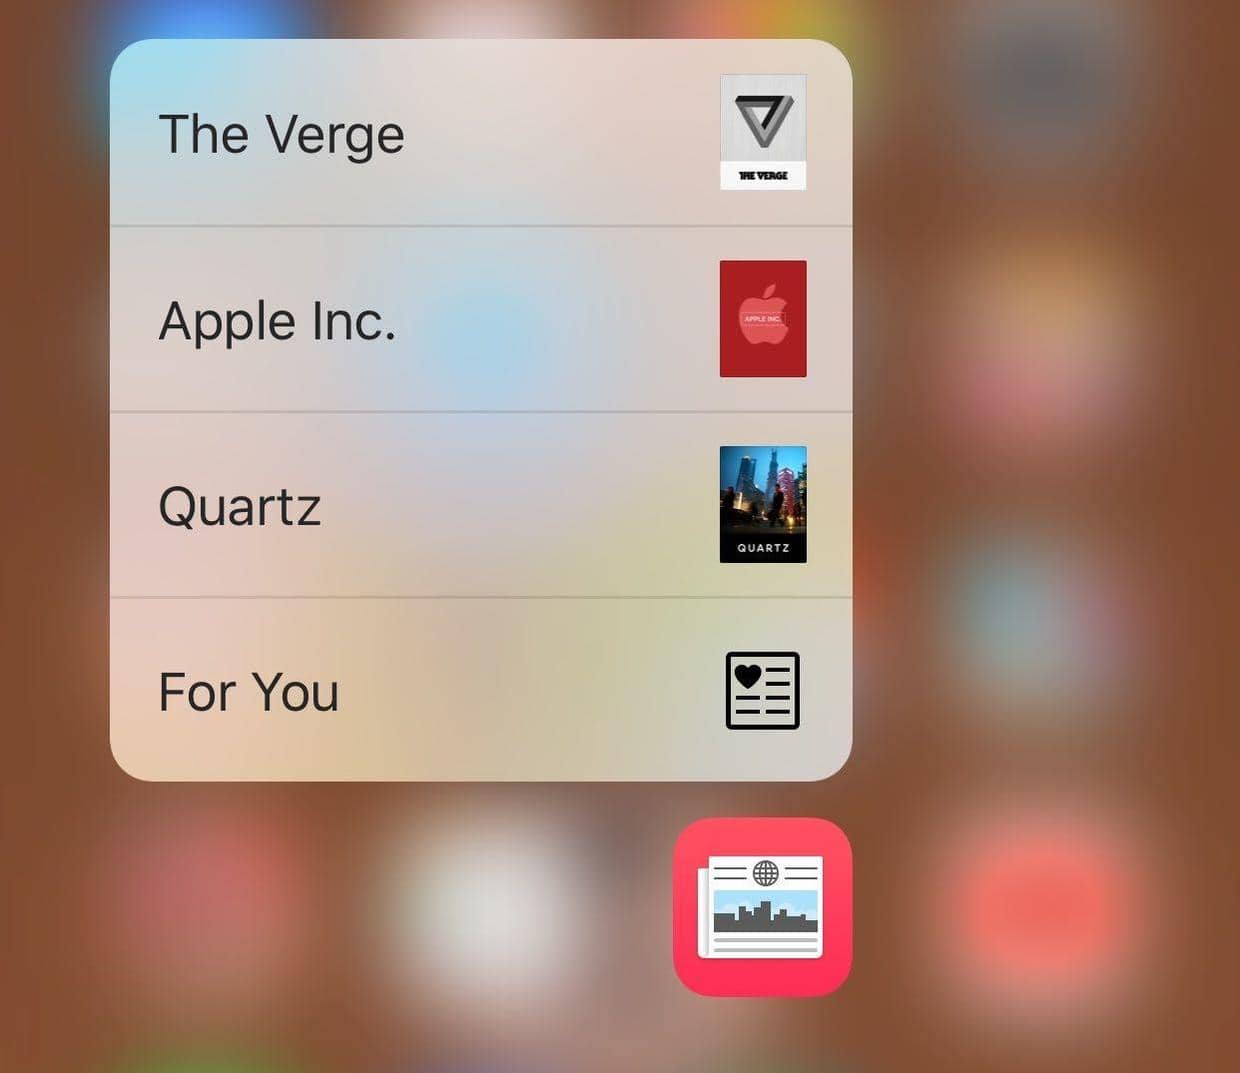 不同的频道是随着时间而变化的。
- 静态的Quick Action
静态的Quick Action只需要在
Info.plist中配置UIApplicationShortcutItems数组就可以了,数组的每一项(字典)就是一个Action,每一个Action有6个类型的字段配置:UIApplicationShortcutItemType(必须)UIApplicationShortcutItemTitle(必须)UIApplicationShortcutItemSubtitle(可选)UIApplicationShortcutItemIconType(可选)UIApplicationShortcutItemIconFile(可选)UIApplicationShortcutItemUserInfo(可选) 如果是下面配置:
 结果就是:
结果就是:
- 动态的Quick Action
动态的的Quick Action配置只要在
AppDelegate.swift的application(:didFinishLaunchingWithOptions)中添加如下代码即可:
        let shortcutItem = UIApplicationShortcutItem(type: "com.andyron.NewRestaurant", localizedTitle: "New Restaurant", localizedSubtitle: nil, icon: UIApplicationShortcutIcon(type: .add), userInfo: nil)
        UIApplication.shared.shortcutItems = [shortcutItem]
- 使用动态的Quick Action配置我的FoodPin应用
由于我之前使用
UIPageViewController创建了开始结束页面,如果在在AppDelegate.swift的application(:didFinishLaunchingWithOptions)中添加动态的Quick Action就会出现直接跳过介绍页面的情况,所以要在看完结束也之后再添加Quick Action。- 下载图标,拖进
Assets.xcassets - 在
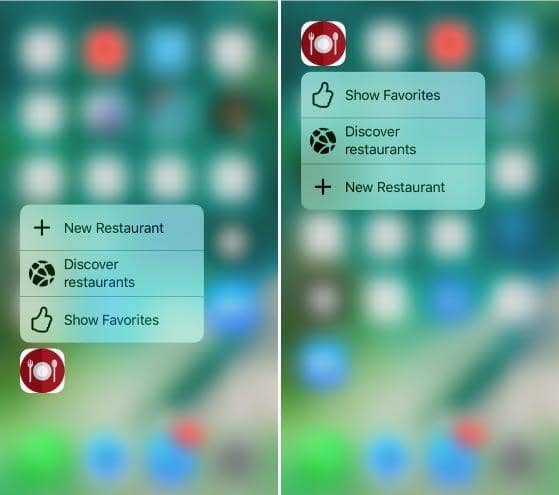
WalkthroughContentViewController的nextButtonTapped方法的case 2:里添加3个Action:// 1 if traitCollection.forceTouchCapability == UIForceTouchCapability.available { let bundleIdentifier = Bundle.main.bundleIdentifier // 2 let shortcutItem1 = UIApplicationShortcutItem(type: "\(bundleIdentifier).OpenFavorites", localizedTitle: "Show Favorites", localizedSubtitle: nil, icon: UIApplicationShortcutIcon(templateImageName: "favortie-shortcut"), userInfo: nil) let shortcutItem2 = UIApplicationShortcutItem(type: "\(bundleIdentifier).OpenDiscover", localizedTitle: "Discover restaurants", localizedSubtitle: nil, icon: UIApplicationShortcutIcon(templateImageName: "discover-shortcut"), userInfo: nil) let shortcutItem3 = UIApplicationShortcutItem(type: "\(bundleIdentifier).NewRestaurant", localizedTitle: "New Restaurant", localizedSubtitle: nil, icon: UIApplicationShortcutIcon(type: .add), userInfo: nil) // 3 UIApplication.shared.shortcutItems = [shortcutItem1, shortcutItem2, shortcutItem3] }- 1 判断设备是否支持3D Touch
- 2
UIApplicationShortcutIcon可以使用系统的图标,也可以使用外部图标 - 3
shortcutItems数组顺序对应从靠近图标开始向上或向下显示
- 下载图标,拖进
- 实现Quick Action的具体跳转动作
UIApplicationDelegate协议中的application(_:performActionFor:completionHandler:)方法会在Quick Action被点击后调用。- 在
AppDelegate.swift文件中定义一个QuickAction枚举。列举出quick action相关动作。
enum QuickAction: String { case OpenFavorites = "OpenFavorites" case OpenDiscover = "OpenDiscover" case NewRestaurant = "NewRestaurant" init?(fullIdentifier: String) { guard let shortcutIdentifier = fullIdentifier.components(separatedBy: ".").last else { return nil } self.init(rawValue: shortcutIdentifier) } }- 在
AppDelegate中实现application(_:performActionFor:completionHandler:)方法:
func application(_ application: UIApplication, performActionFor shortcutItem: UIApplicationShortcutItem, completionHandler: @escaping (Bool) -> Void) { completionHandler(handleQuickAction(shortcutItem: shortcutItem)) } private func handleQuickAction(shortcutItem: UIApplicationShortcutItem) -> Bool { let shortcutType = shortcutItem.type guard let shortcutIdentifier = QuickAction(fullIdentifier: shortcutType) else { return false } guard let tabBarController = window?.rootViewController as? UITabBarController else { return false } switch shortcutIdentifier { case .OpenFavorites: tabBarController.selectedIndex = 0 case .OpenDiscover: tabBarController.selectedIndex = 1 case .NewRestaurant: if let navController = tabBarController.viewControllers?[0] { let restaurantTableViewController = navController.childViewControllers[0] restaurantTableViewController.performSegue(withIdentifier: "addRestaurant", sender: restaurantTableViewController) } else { return false } } return false } - 在
Peek 和 Pop
-
在
RestaurantTableViewController的viewDidLoad方法中添加如下代码。使用UIViewController中的registerForPreviewing方法注册使用peek和pop。// 如果3D Touch可以用,就注册本控制器可以peek和pop if traitCollection.forceTouchCapability == .available { registerForPreviewing(with: self as! UIViewControllerPreviewingDelegate, sourceView: view) } -
让
RestaurantTableViewController符合UIViewControllerPreviewingDelegate协议:class RestaurantTableViewController: UITableViewController, NSFetchedResultsControllerDelegate, UISearchResultsUpdating, UIViewControllerPreviewingDelegate { -
实现
UIViewControllerPreviewingDelegate协议的方法:// 当按压时调用(peek) func previewingContext(_ previewingContext: UIViewControllerPreviewing, viewControllerForLocation location: CGPoint) -> UIViewController? { // 1 guard let indexPath = tableView.indexPathForRow(at: location) else { return nil } // 2 guard let cell = tableView.cellForRow(at: indexPath) else { return nil } // 3 guard let restaurantDetailViewController = storyboard?.instantiateViewController(withIdentifier: "RestaurantDetailViewController") as? RestaurantDetailViewController else { return nil } let selectedRestaurant = restaurants[indexPath.row] restaurantDetailViewController.restaurant = selectedRestaurant // 4 restaurantDetailViewController.preferredContentSize = CGSize(width: 0.0, height: 450.0) previewingContext.sourceRect = cell.frame return restaurantDetailViewController } // pop时调用 func previewingContext(_ previewingContext: UIViewControllerPreviewing, commit viewControllerToCommit: UIViewController) { show(viewControllerToCommit, sender: self) }- 1 通过按压的位置获得
indexPath - 2 通过
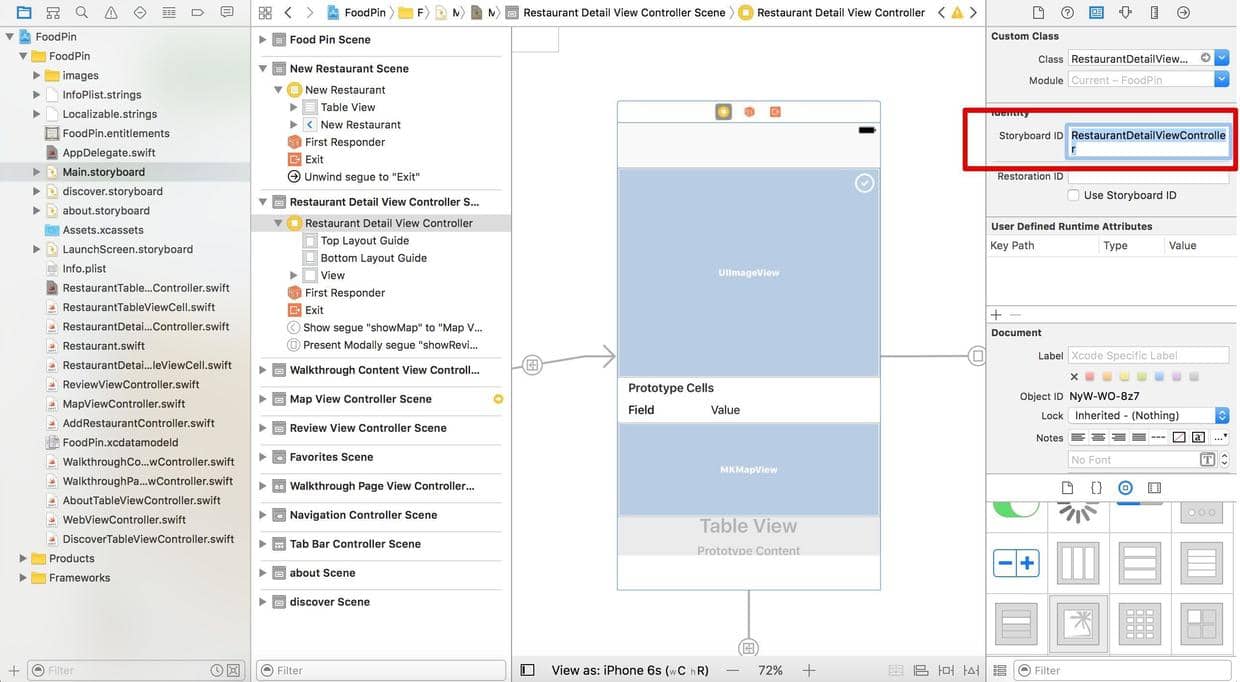
indexPath获得cell - 3 通过控制器的Storyboard ID获得控制器,之前如果没有填写Storyboard ID,现在也可填写合适Storyboard ID。
- 4 给peek的预览页面一个高度限制,非必须。
- 1 通过按压的位置获得
代码
Beginning-iOS-Programming-with-Swift
说明
此文是学习appcode网站出的一本书 《Beginning iOS 10 Programming with Swift》 的一篇记录
文章作者 andyron
上次更新 2024-07-16
许可协议 原创文章,如需转载请注明文章作者和出处。谢谢!