开始用Swift开发iOS 10 - 20 使用Tab Bar Controller 和 拆分Storyboard
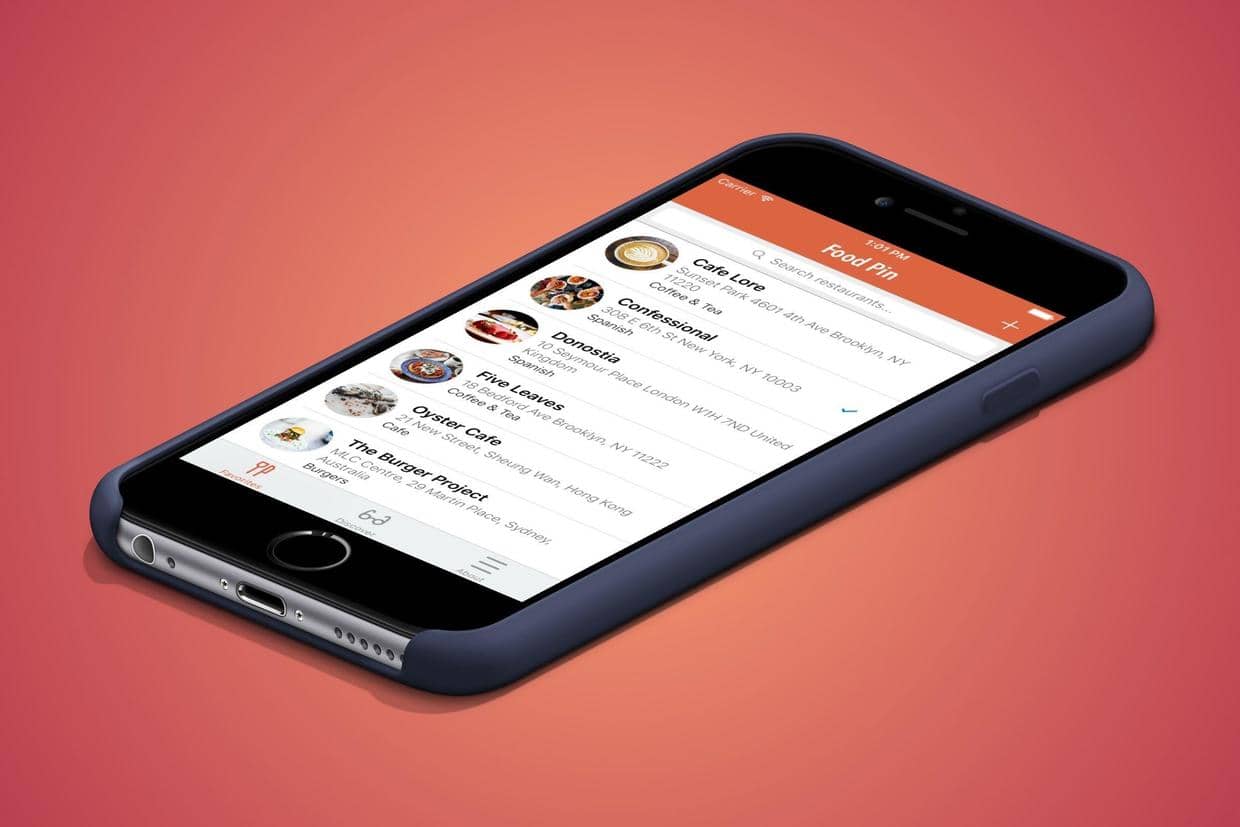
上一篇 开始用Swift开发iOS 10 - 19 使用UIPageViewController构建介绍页面构建了开始介绍页面,这一篇学习使用Tab Bar Controller和拆分Storyboard。
创建 Tab Bar Controller
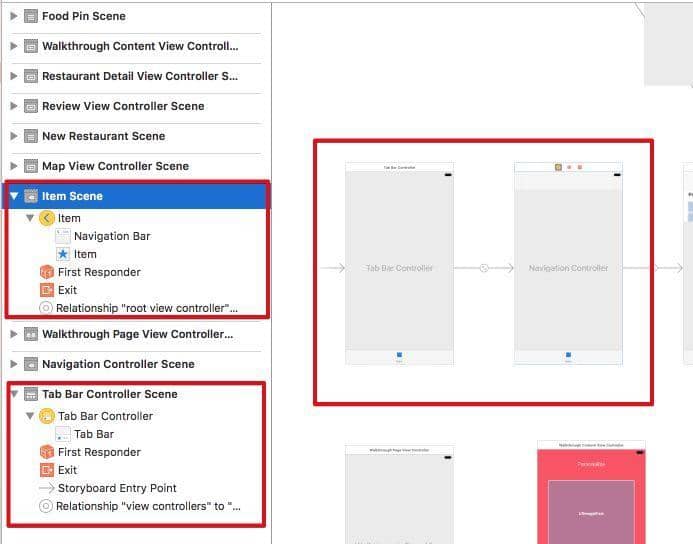
- 选择开始的Navigation Controller,Editor > Embed in > Tab Bar Controller,然后自动添加一个新的Tab Bar Controller 作为初始的控制器,之前Navigation Controller变成Tab Bar Controller的一部分了。
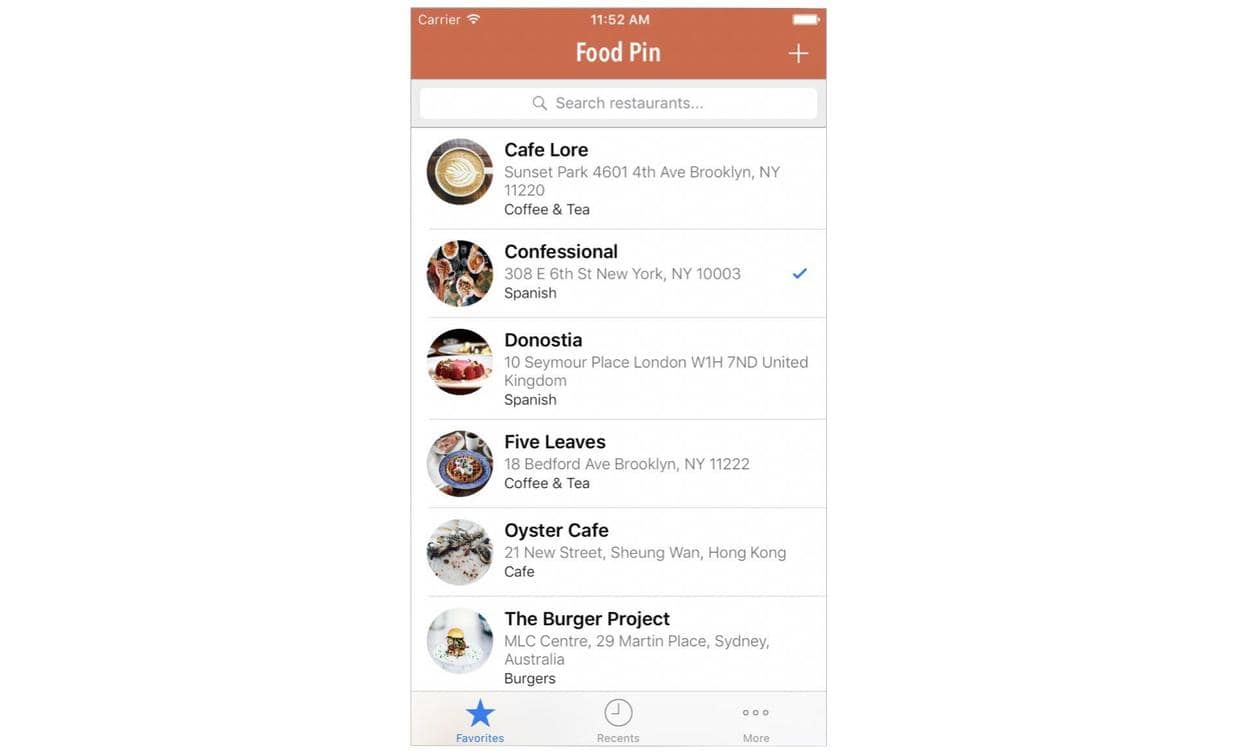
- 在Navigation Controller中选择 tab item,修改
System Item为Favorites。
隐藏 Tab Bar
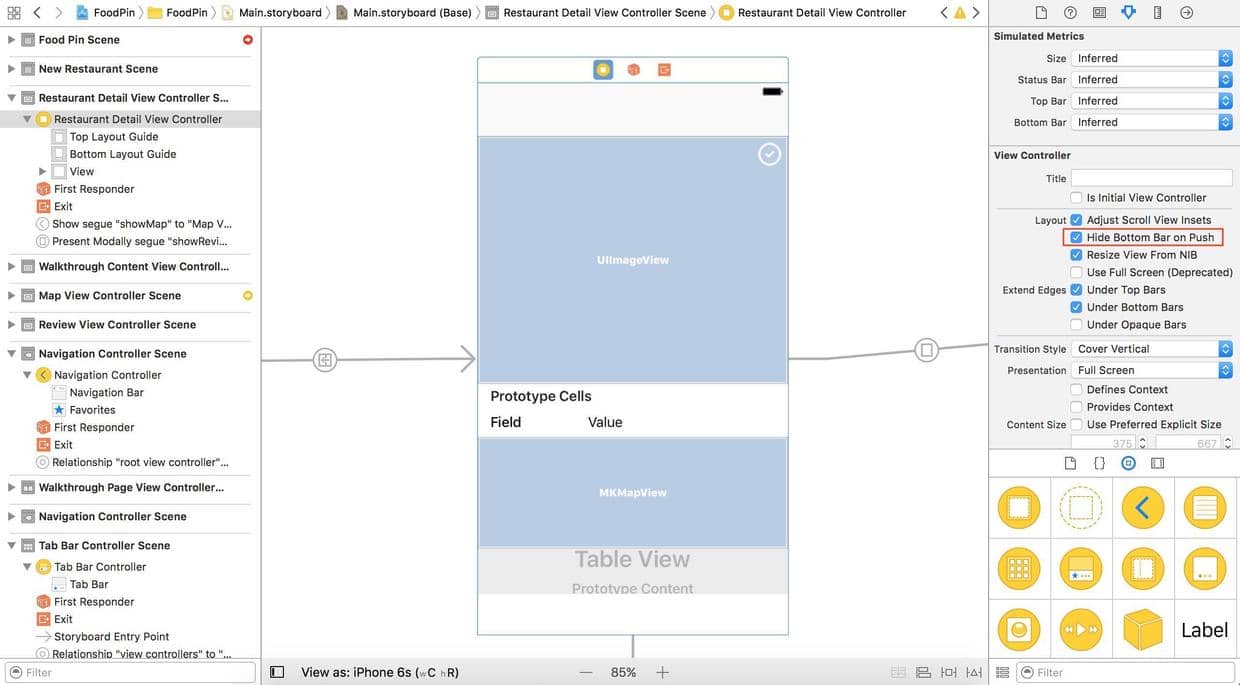
工具栏在其他页面隐藏,选择Detail View,勾选Hide Bottom Bar on Push就可以。
也可以用代码形式,在RestaurantTableViewController中的prepare(for:)中添加:
destinationController.hidesBottomBarWhenPushed = true
添加新的Tabs
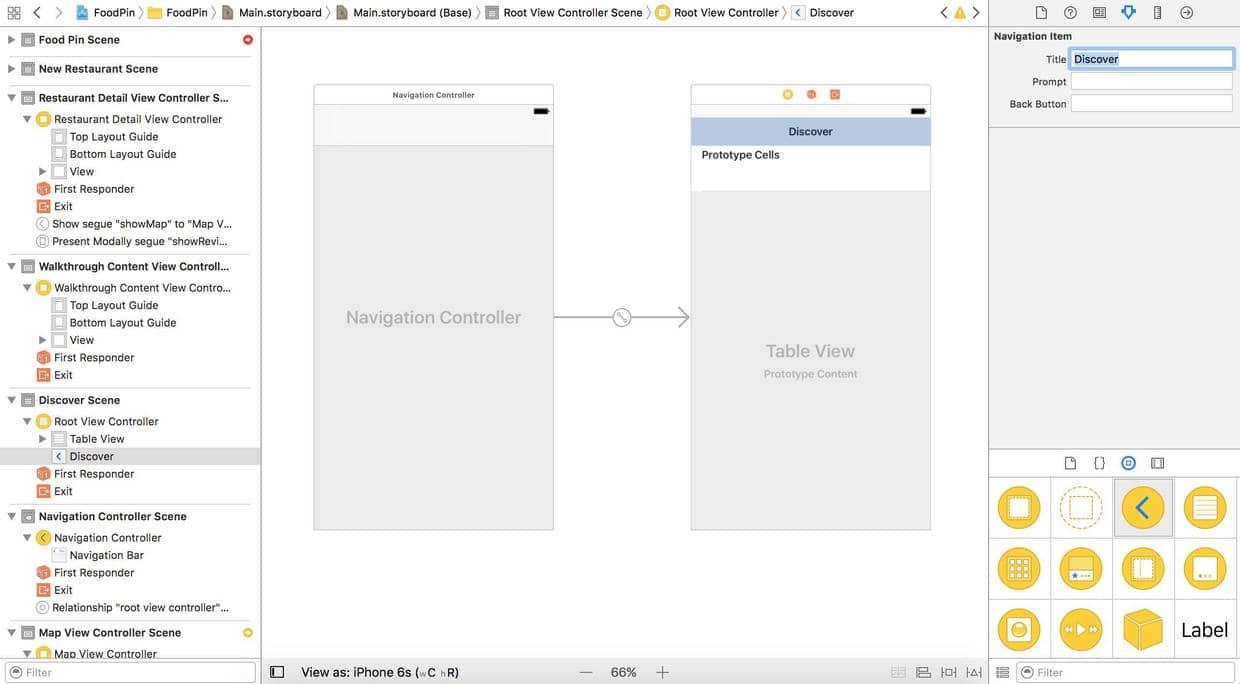
- 添加一个新的Navigation Controller, 选中tab item,修改
System Item为Recents;table view的navigation item的title为Discover
-
把新加的Navigation Controller加入到 Tab Bar Controller。用ctrl+drag从Tab Bar Controller到新的Navigation Controller,选择
Relationship Segue - View Controllers。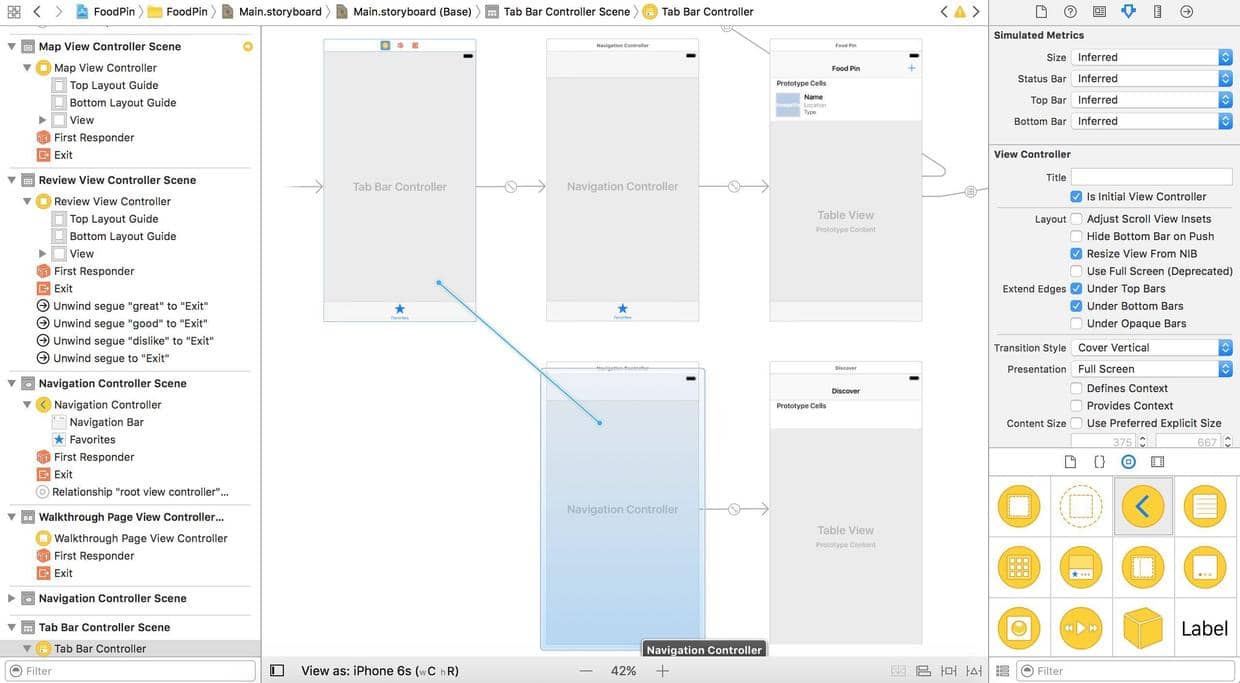
-
改变新的Navigation Controller的tab bar的title为
Recent,修改system item为Recents -
同样的方式添加一个新的Navigation Controller, 选中tab item,修改
System Item为More;table view的navigation item的title为About。也用ctrl+drag与Tab Bar Controller建立关系。
最终创建有三个Tab Bar Item的Tab Bar。
定制Tab Bar的样式
修改Tab Bar的样式在application(_:didFinishLaunchingWithOptions:) 中进行,类似下面的代码,详细的API可参考官方文档:
UITabBar.appearance().tintColor = UIColor(red: 235.0/255.0, green: 75.0/255.0,
blue: 27.0/255.0, alpha: 1.0)
UITabBar.appearance().barTintColor = UIColor.black
改变 Tab Bar Item的图片
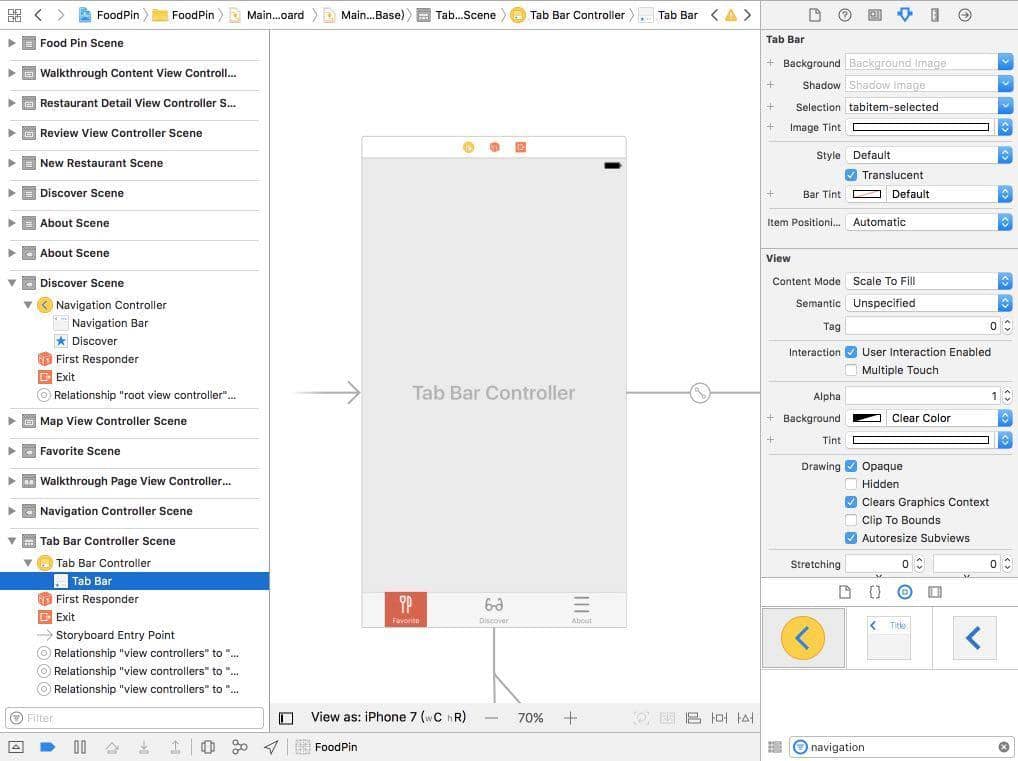
- 从图片下载图片到
Assets.xcasset。 - 在SB中修改三个Tab Bar Item的System Item都为
Custom,修改Title和Image为想要的值,类似下图

- 在
application(_:didFinishLaunchingWithOptions:)中修改样式:
     UITabBar.appearance().tintColor = UIColor(red: 235.0/255.0, green: 75.0/255.0, blue: 27.0/255.0, alpha: 1.0)
     UITabBar.appearance().barTintColor = UIColor(red: 236/255.0, green: 240.0/255.0, blue: 241.0/255.0, alpha: 1.0)

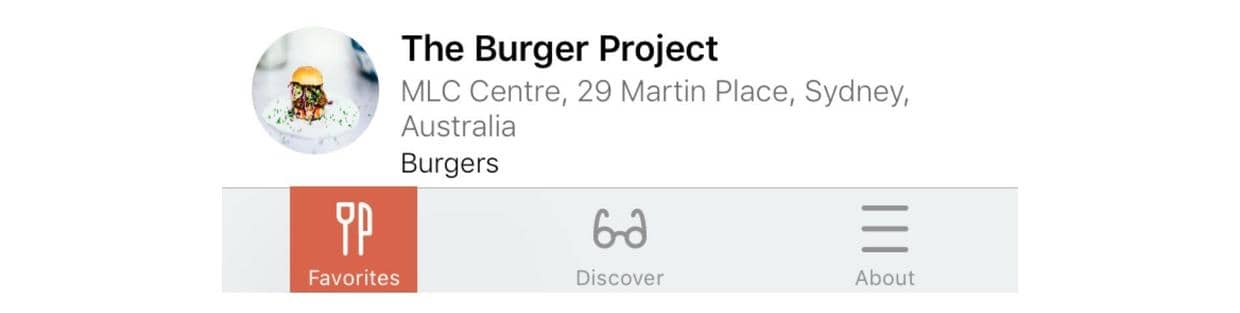
改变选择指示图片(Selection Indicator Image)
Selection Indicator Image就是指tab bar item被选中后与其它tab bar item不同的样式,在代码中和SB中都可以修改。
UITabBar.appearance().selectionIndicatorImage = UIImage(named: "tabitem-selected")
最终效果:
拆分Storyboard
当项目变大时,一个Storyboard就会很大,如果是项目中有很多人合作的话,一个Storyboard也很难管理。从Xcode7之后,新功能storyboard references解决了这个问题。
- 在
Main.storyboard中选择,about相关的两个view controller,然后Editor > Refactor to Storyboard…,新建名为about.storyboard的storyboard文件,就把这个两个独立出去了。
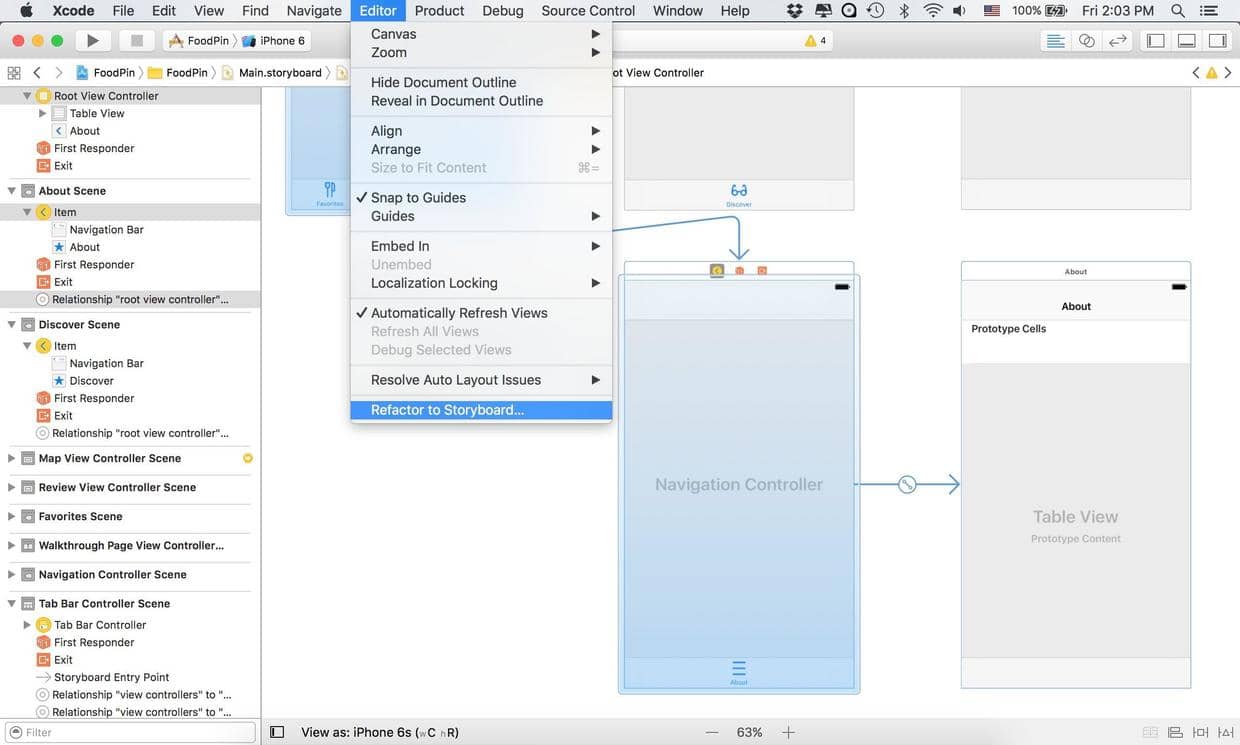
把about相关的view controller拆分出去后,在Main.storyboard里有一个关联图标,双击就可以跳转到about.storyboard中。
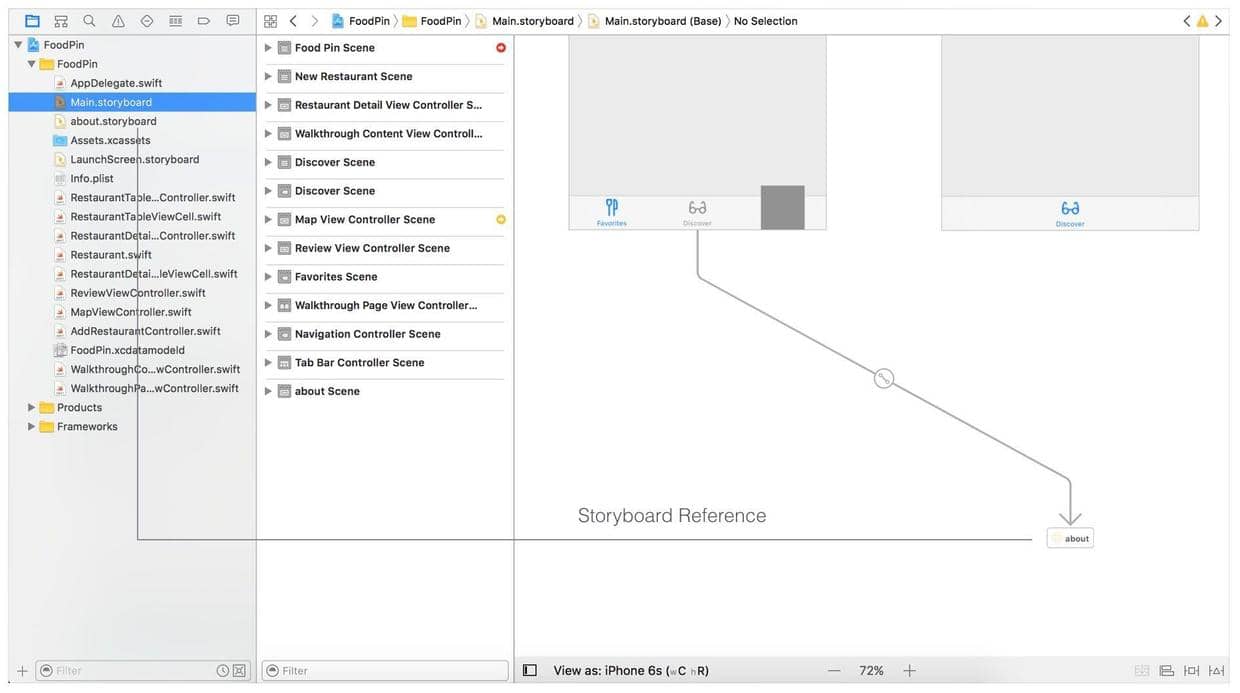
- 同样的方法,独立出discover相关view controller,生成
discover.storyboard文件。
代码
Beginning-iOS-Programming-with-Swift
说明
此文是学习appcode网站出的一本书 《Beginning iOS 10 Programming with Swift》 的一篇记录
文章作者 andyron
上次更新 2024-07-16
许可协议 原创文章,如需转载请注明文章作者和出处。谢谢!